
Broken Cover - bigger fix
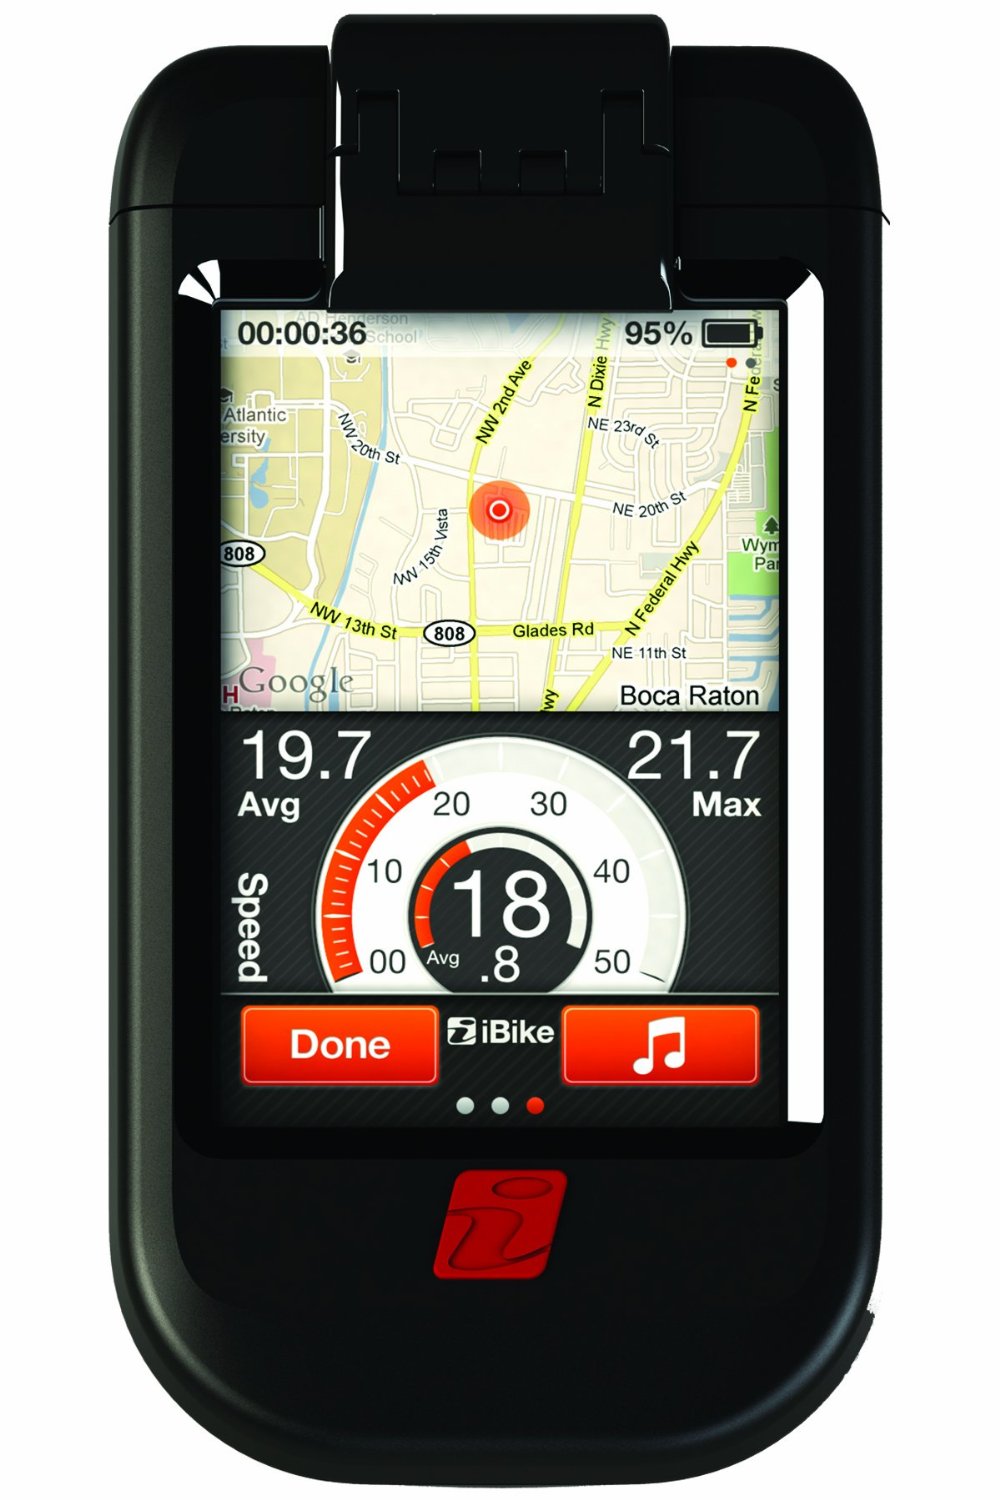
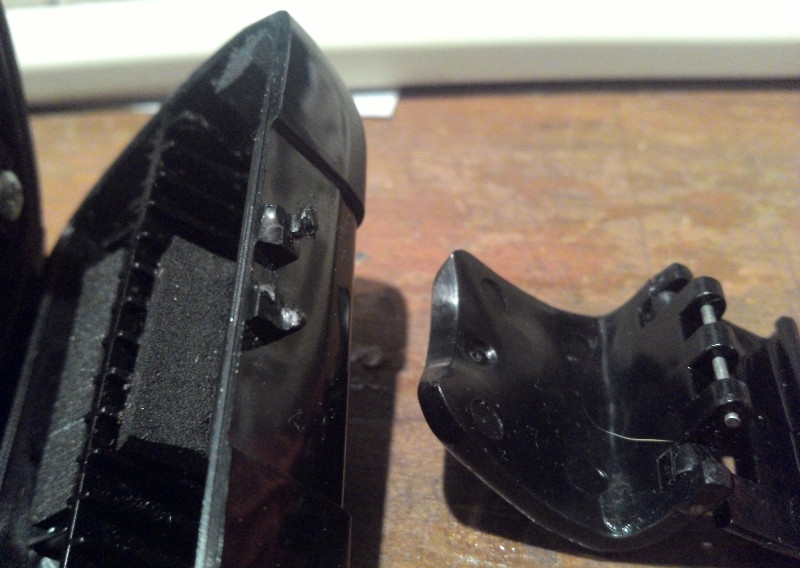
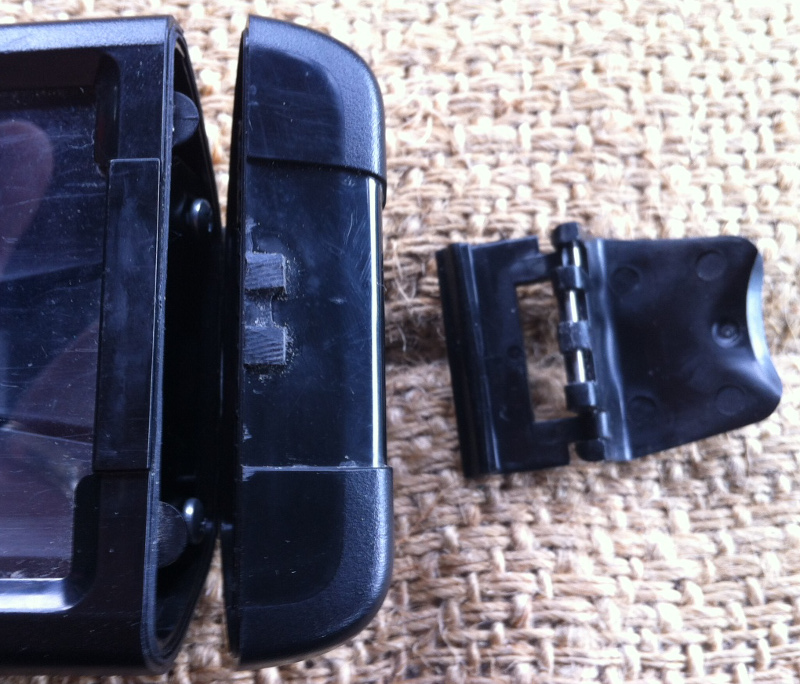
Here's "Create a new mount using sculpture and 2 part mix like Selleys Kneed It" BUT the lid suffers from a dreadful design flaw - the hinge has about 2 square millimetres of plastic to hold it together. Naturally it snaps, so here's my attempt to fix it....Step 1: Bother - its broken!
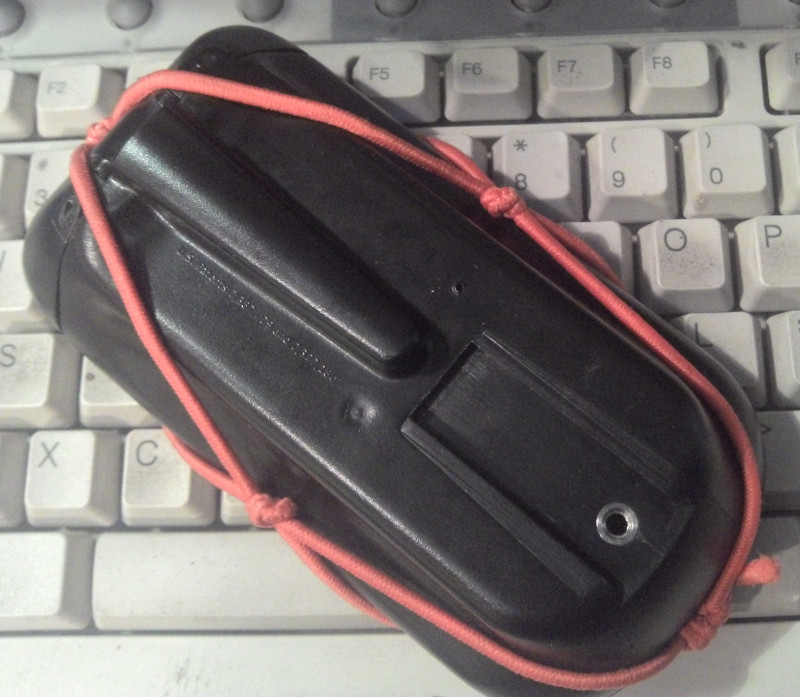
I don't have tons of cash to fling on bicycle clobber, so I made an effort to fix it. The main unit is in the bottom of the enclosure, and the electronics still function fine. The biggest problem is that the seal is broken and the unit won't be waterproof. First thing is to save all the parts.Step 2: Cleanup the nubbins
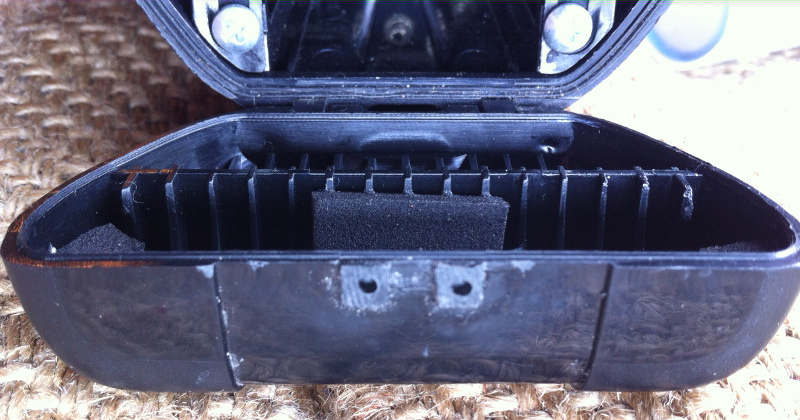
I used a coarse file to flatten off the daggy ends of plastic and make a clean, flat, and rough surface. Also drilled a couple of shallow blind holes into but not through the plastic for added bite.... not sure if this makes a difference at all.
Step 3: Mask the area with tape
This image was from later, but shows how I masked the area with tape. The goop gets everywhere, easier to do now than clean it off later.
Step 4: Goop
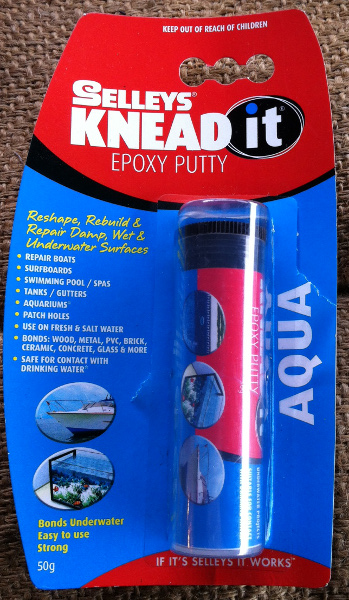
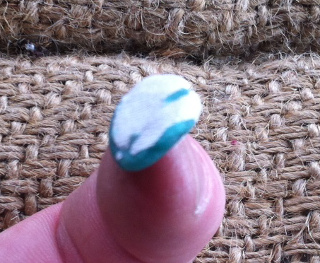
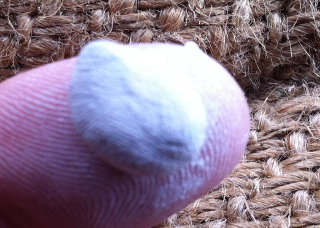
I used a product called Selleys "Knead It" which is rated for water and cost me $10 NZD for a small tube. I've used perhaps 3% of the tube doing this, and that was about four times more than necessary. Cut a wee bit off and roll it around between finger and thumb. It stinks and is quite tacky when mixed.
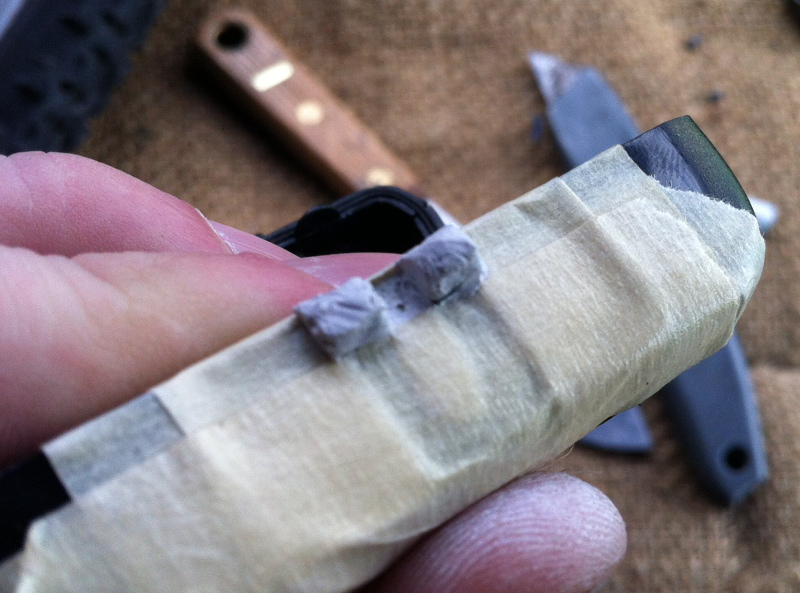
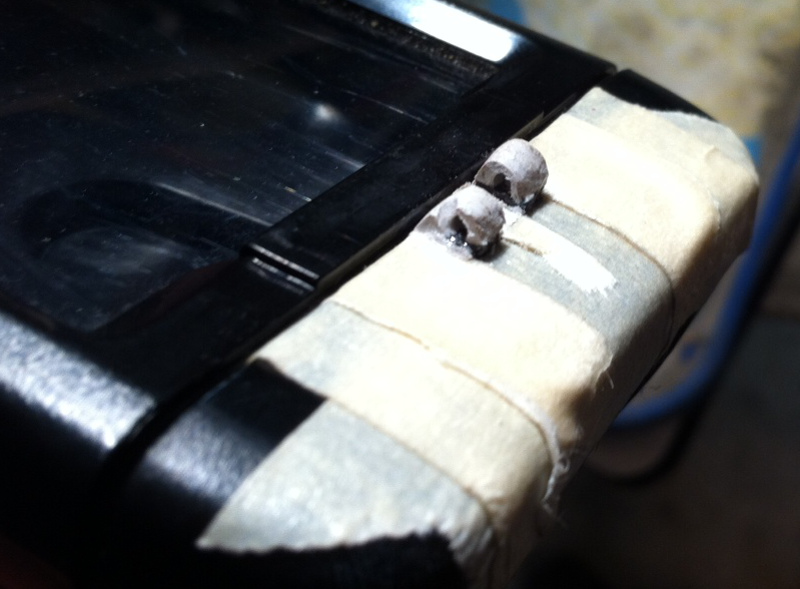
Step 5: Make bumps
I used part of the mix to make two bumps on top of the nubbins. As the goop sets, it gets firmer and easier to work with. You want to have it basically in shape before then and just do touchups. Try and squash it into the blind hole a bit, for added grip. Best tool was a putty knife, which was damp with water. This stops/reduces the sticking. I should have made mine stand out much taller - they were barely adequate. You're after a domed house shape, don't worry about the flat ends because we'll trim them up later. To get a smooth surface and remove all your fingerprints, wet the putty knife or your finger and smooth it off. Once the shape is right, put the whole thing aside for an hour or so to set. Two hours is a safe bet. Clean up your hands and tools in water.
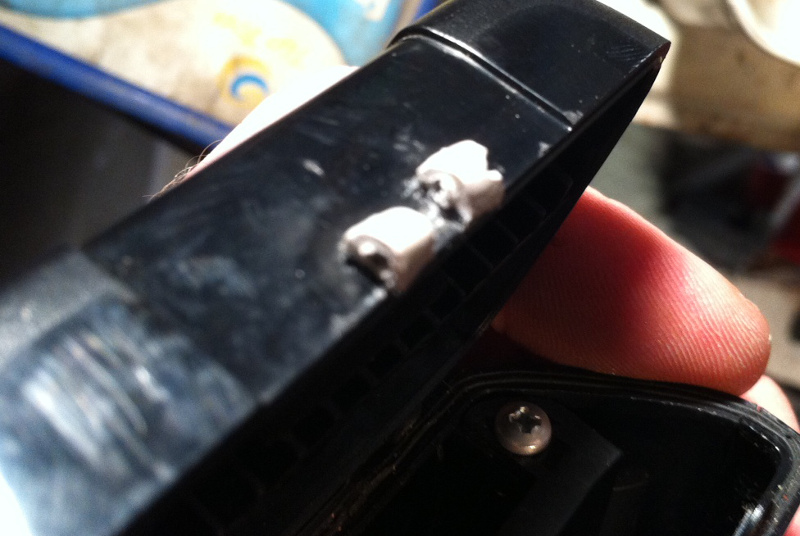
Step 6: Cleanup
Use a sharp knife like a Stanley knife or a scalpal or a box cutter to trim the four ends flat. Ideally you want the black plastic sides of the original nubbins to be visible but not cut. Don't remove the masking tape yet, it'll help protect while drilling.Step 7: Drill!
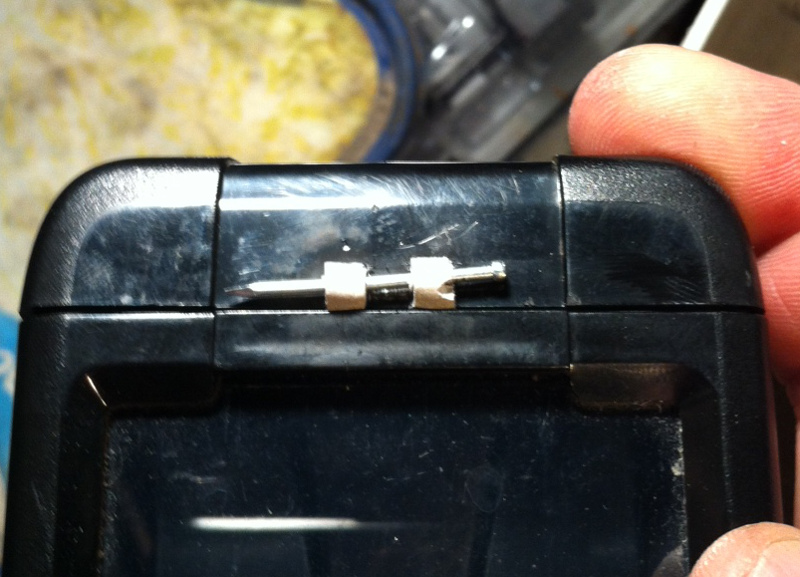
I used a 1.5 mm drill bit in a drill press to go in through the dried goop.Take your time and drill slowly. I had the drill barely in the jaws of the chuck, for added length. My errors were that I was forced to drill from each side, and the two holes were poorly lined up, as the photo with the nail shows. Also that I hadn't formed the goop high enough.
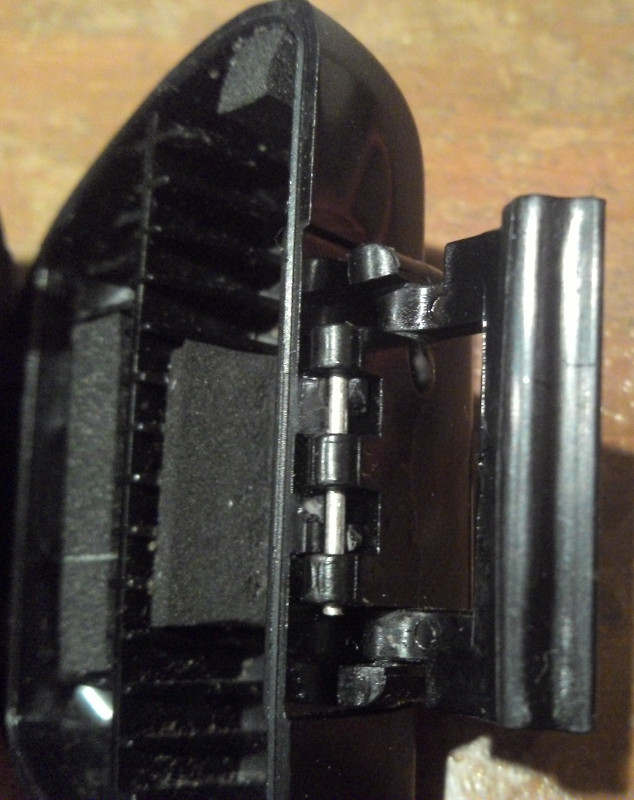
Step 8: Assembly
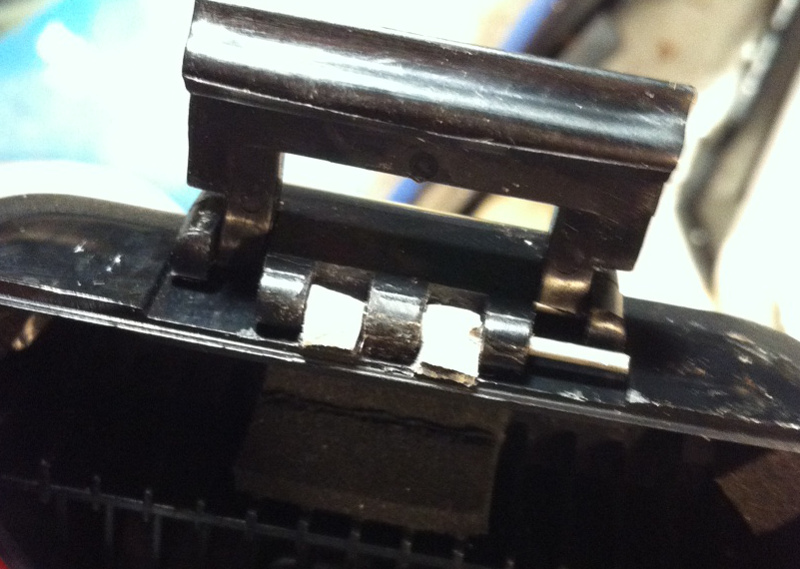
Its not the reverse of disassembly, that's for sure. I used a 1.5 mm nail to drive the pin out of the hinge. DO NOT HAMMER! Either use hand pressure or a gentle squeeze in a bench vise. Any impact is likely to snap the plastic. Once the pin was ~2 mm out I used some boot pinch pliers to grab and extract the pin. Then I simply lined it up and pushed the pin back in place through the hinge and the new holes. Photo above shows it halfway pushed in.